Sorbet Season!
Please head over to my new blog at TheUrbanHousewife.com, where you'll find this post & more!
 While this summer in San Francisco has hardly been warm, we've still had a lot of beautiful fruit readily available to us. I love a good Farmers Market & I try to go to Heart of the City Farmers Market weekly. The prices are incredible, I can often stock my home with fruits & vegetables for under $10.
The arrival of an Ice Cream Maker & the large stock of fruit around my home has yielded a wonderful thing; SORBET! I'm not normally a fruit dessert kind of gal, but sorbet is so tasty & guilt free, I consider it a post-dinner refreshment!
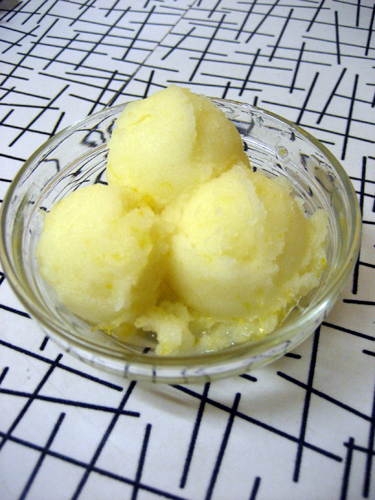
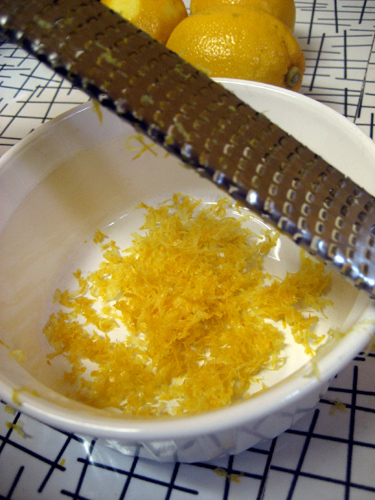
It all started with the Lemon Sorbet I blogged about previously, it was so simple & delicious, I was instantly hooked!
 My second attempt was a Peach Sorbet, with a mix of white & yellow peaches from a local farm. It was light & delicious, I'll definitely be making this again in the near future!
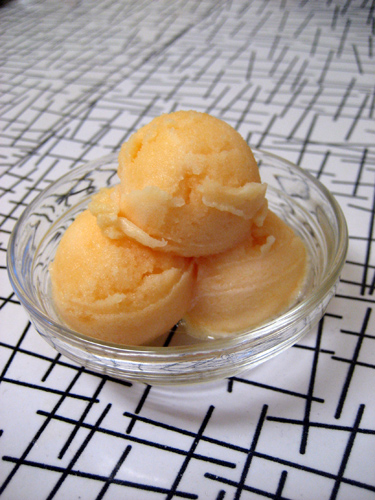
Next, I made a Cantaloupe Sorbet, mainly for myself, as my other taste testers aren't fans of melon. It was mild & refreshing not too sweet, but not bland either. I think there's serious potential in melons for sorbet.
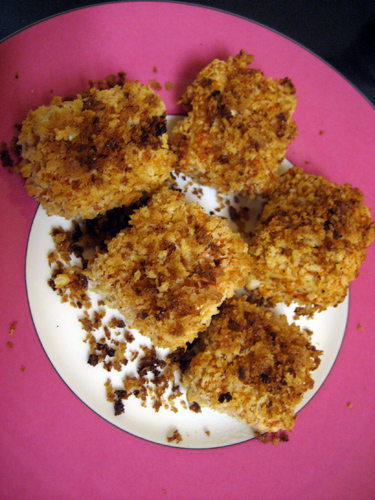
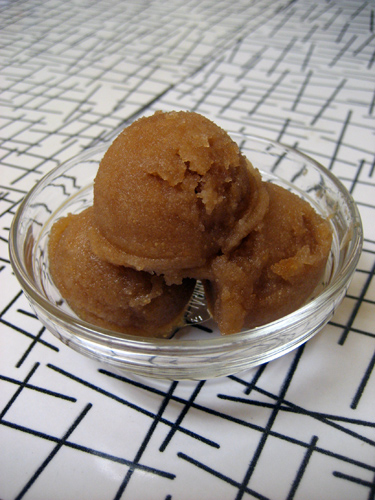
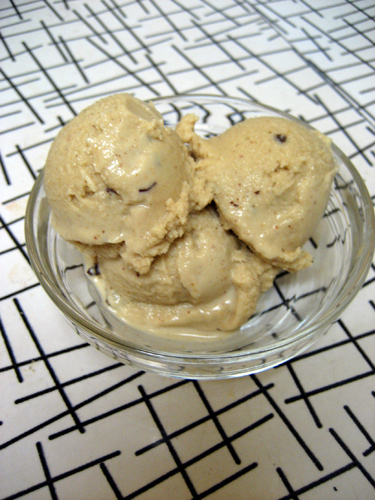 Due to having a husband who would eat peanut butter in any capacity, some gelato snuck it's way in! I made him a Peanut Butter Gelato with THIS recipe, but used part light coconut milk, part vanilla soy milk. I also added a pinch of cinnamon & a bit of melted chocolate for and extra kick! It was creamy & light, but I feel like the nutty flavor could stand out more. I'll be trying this one again with more peanut butter.
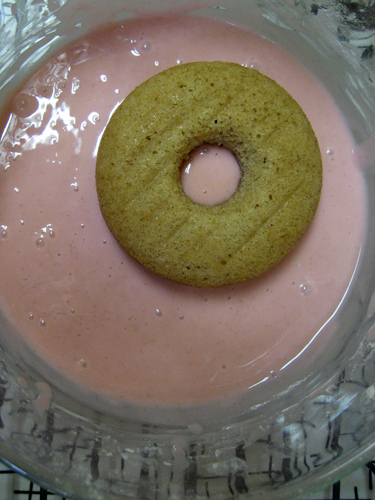
I was given a sample of Asian Pear at the Farmers Market & they were so sweet & crunchy I had to buy some! They translated well to a sorbet, although the texture was a bit gritty. Luckily, the flavor of the sorbet was so gorgeous, the texture was hardly an issue. I think this could be great for a dinner party, a fun way to serve something a bit untraditional.
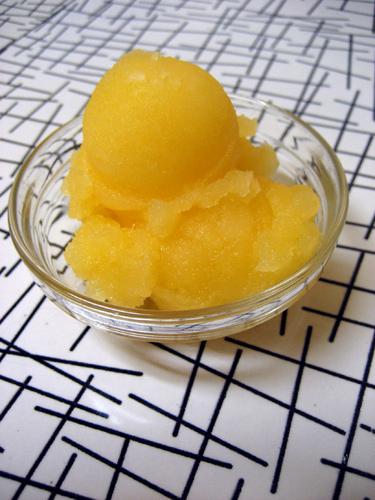
 Some oranges had been sitting around the house, so I decided we needed another round of sorbet tonight! The Orange Sorbet was amazingly good, although I may have put a bit too much juice in it, as it didn't all want to freeze & melted quickly. From what I can tell, fruits with texture seem to work better than pure fruit juice.
What I love about sorbet is the ease of making it, many times I don't plan these ahead, I just decide before dinner to make it & prep it right before I cook. Once we're eating, I pour everything in to the ice cream maker & it's done by the time we've cleaned our plates!
 a Basic Sorbet
Ingredients:
Fruit of your choice (2 to 3 whole fruits, half a melon or large fruit, or 5 or so smaller fruits such as lemons, a handful or two of berries)
1/2 cup water
1/4 cup sugar
1/2 to 1 lemon
Instructions:
In a small pot, heat 1/2 cup of water & 1/4 cup of sugar until the sugar dissolves.
Remove from the heat & let it cool for a bit.
Wash, peel, cut, & puree the fruits of your choice in a food processor. (If using berries, strain the seeds, if desired.)
Pour the water-sugar mixture in to the pureed fruit, stir.
Squeeze the juice of half a lemon in to your mixture, stir.
Taste your mixture, it should be quite sweet, if not "too sweet".
Add more lemon, if needed.
Once the mixture is to your taste, put it in the refrigerator for at least an hour, until it is cool. (You can skip this, but the sorbet will take longer to form & the results may not be as desired.)
Pour the mixture in to your ice cream maker & follow the manufacturers instructions.
This yields 4 small servings or 2 average servings.
My Notes:
It's all about experimenting with combinations & your personal taste. I like to use less sugar & put in additional lemon juice for sweetness, but many people use equal amount of water & sugar. Lemon also helps bring out flavor in the milder fruits, such as melon, so even if you make yours with more sugar, it's still a good idea to add a tablespoon of lemon juice. On the other hand, if you put too little sugar, the sorbet may be icy. Ice Cream Makers produce a soft serve sort of frozen dessert. A great way to firm up your sorbet is to move it to a storage container & put it in the freezer. Some sorbets tend to get icy or chunky if frozen, if this happens, leave it out to thaw a bit before eating. Enjoy!
 In other news..
 The Urban Housewife is now on MySpace!
I love to make new friends & see the faces of my readers; please add me! http://www.myspace.com/theurbanhousewife
I love to make new friends & see the faces of my readers; please add me! http://www.myspace.com/theurbanhousewife